

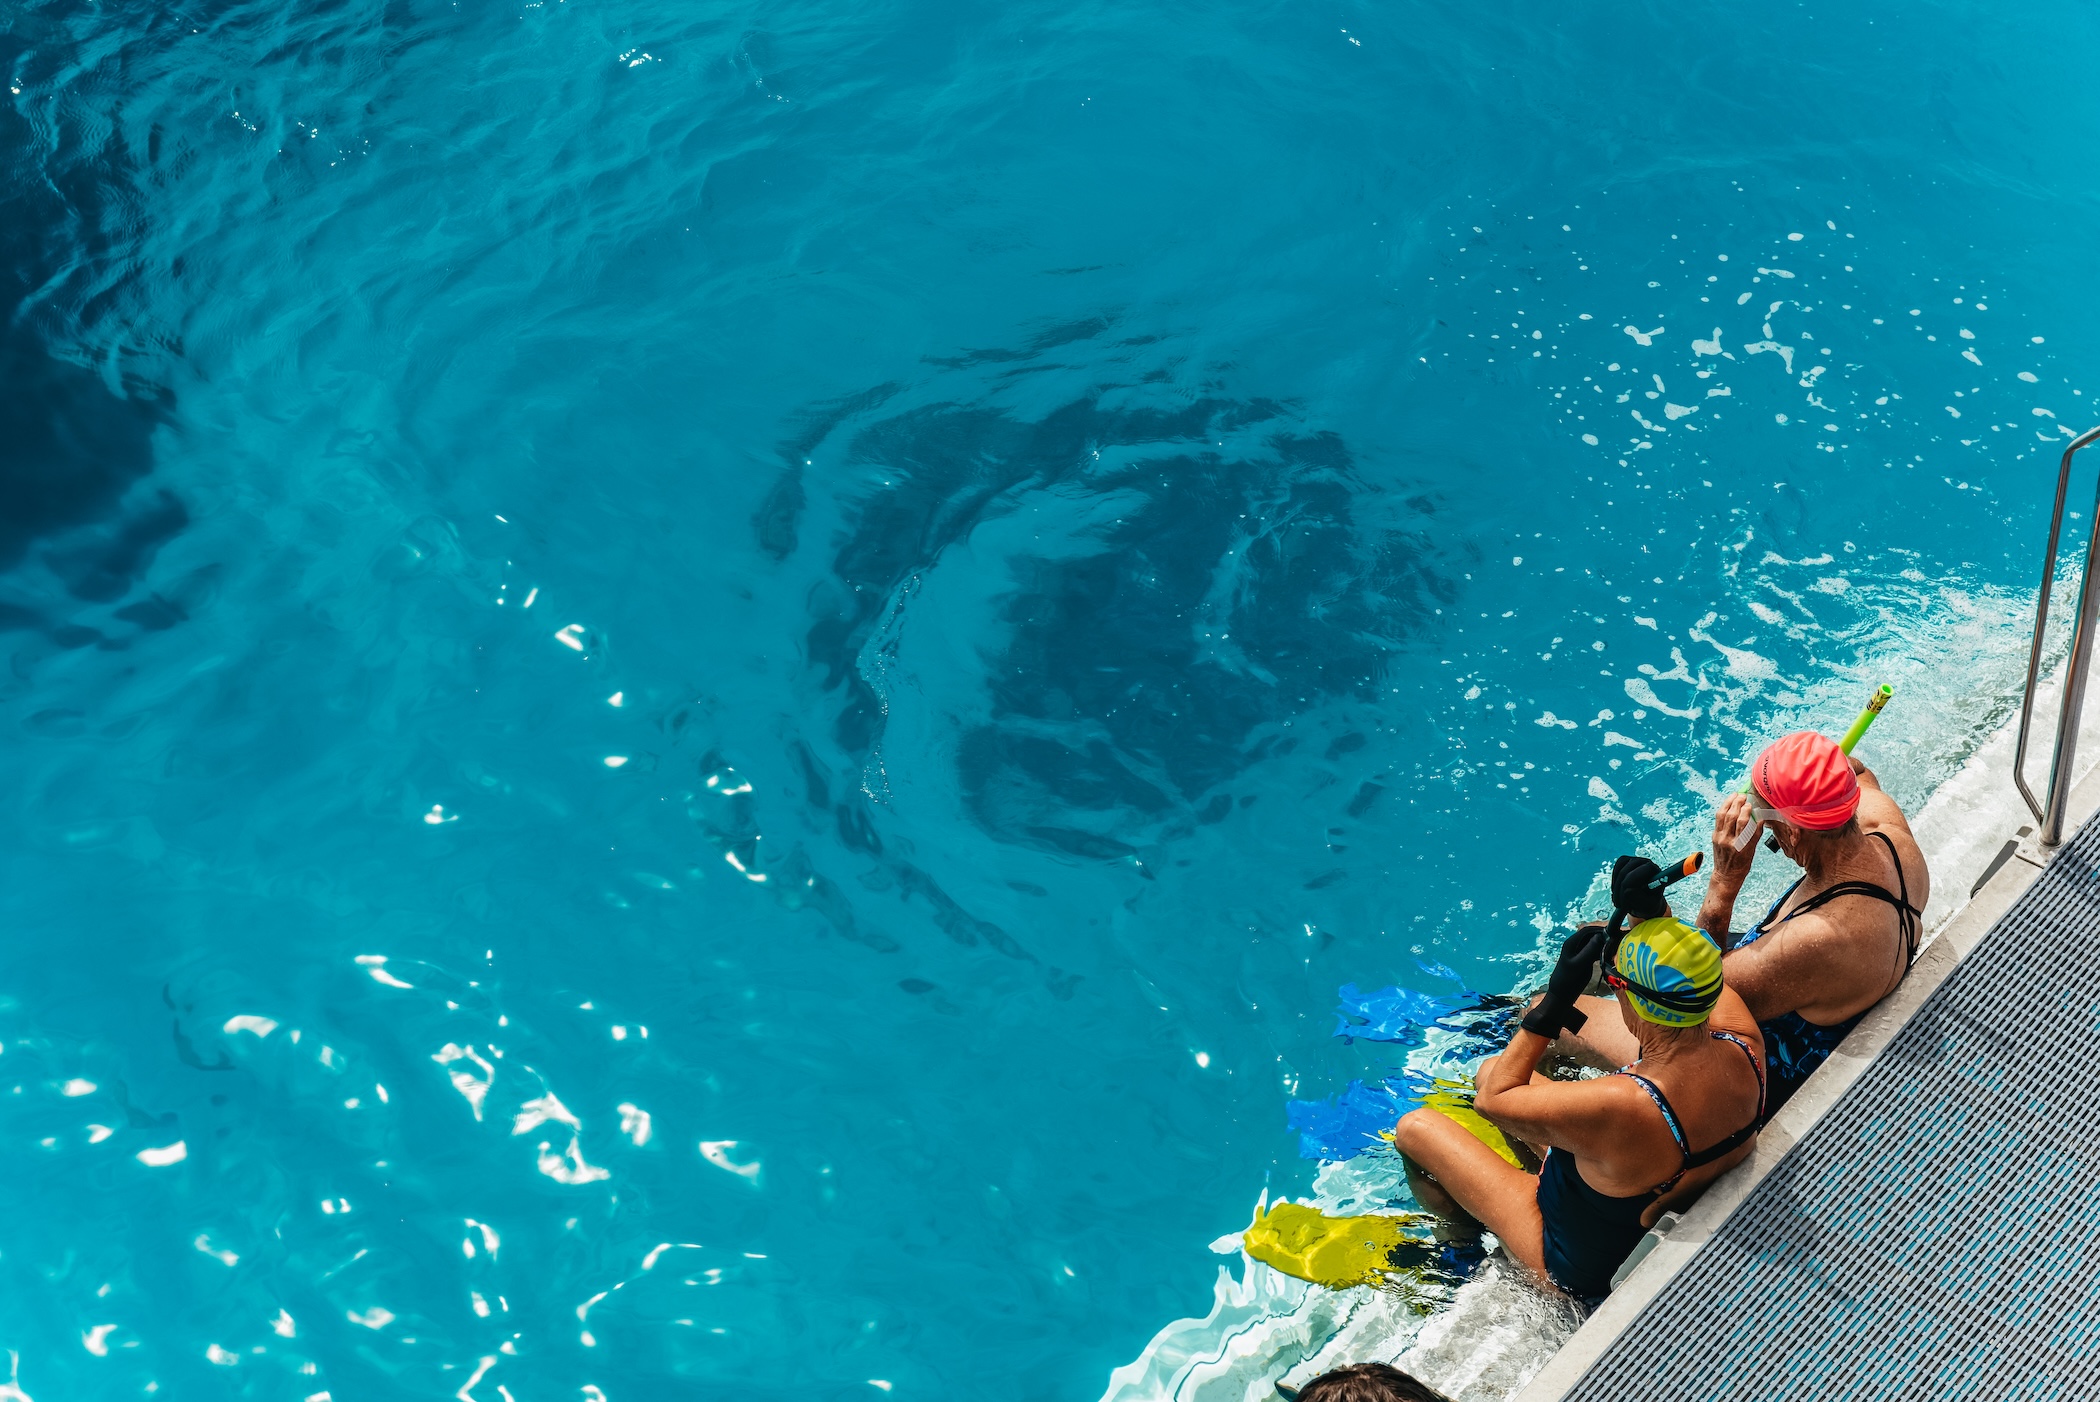

A night kayak through bioluminescent waters in Puerto Rico. A fishing trip with a local captain off the coast of Sicily. A slow boat through the backwaters of Kerala. These are the kinds of experiences travelers remember for years.
Water experiences are among the most visually compelling things a traveler can do, but they are also one of the hardest subjects to photograph well. The gap between what the experience actually looks and feels like and what most listing photos show is significant. And it costs bookings.
This guide covers what to shoot, how to shoot it, and what to leave out. By the end, you'll have a clear shot list and a checklist to run before you update your listing.
Build your gallery around these six shots
Before you pick up your phone, know which shots you're going for. These six cover the essentials.
1. The view from inside the boat
Shoot from on board, looking out toward a well-known location you pass during the tour. A famous bridge, a recognizable skyline, a landmark coastline. The key is that the photo is clearly taken from the boat itself: part of the vessel should be visible in the frame, whether that's the railing, the deck, or a guest's arm resting on the side. This shot tells travelers where you go and puts them on board at the same time.
The Malta Blue Lagoon catamaran trip handles this well. The catamaran deck, the group, the water — everything is in the same frame. You understand the social atmosphere of the experience without needing to read a word of the description.
2. Your host in action
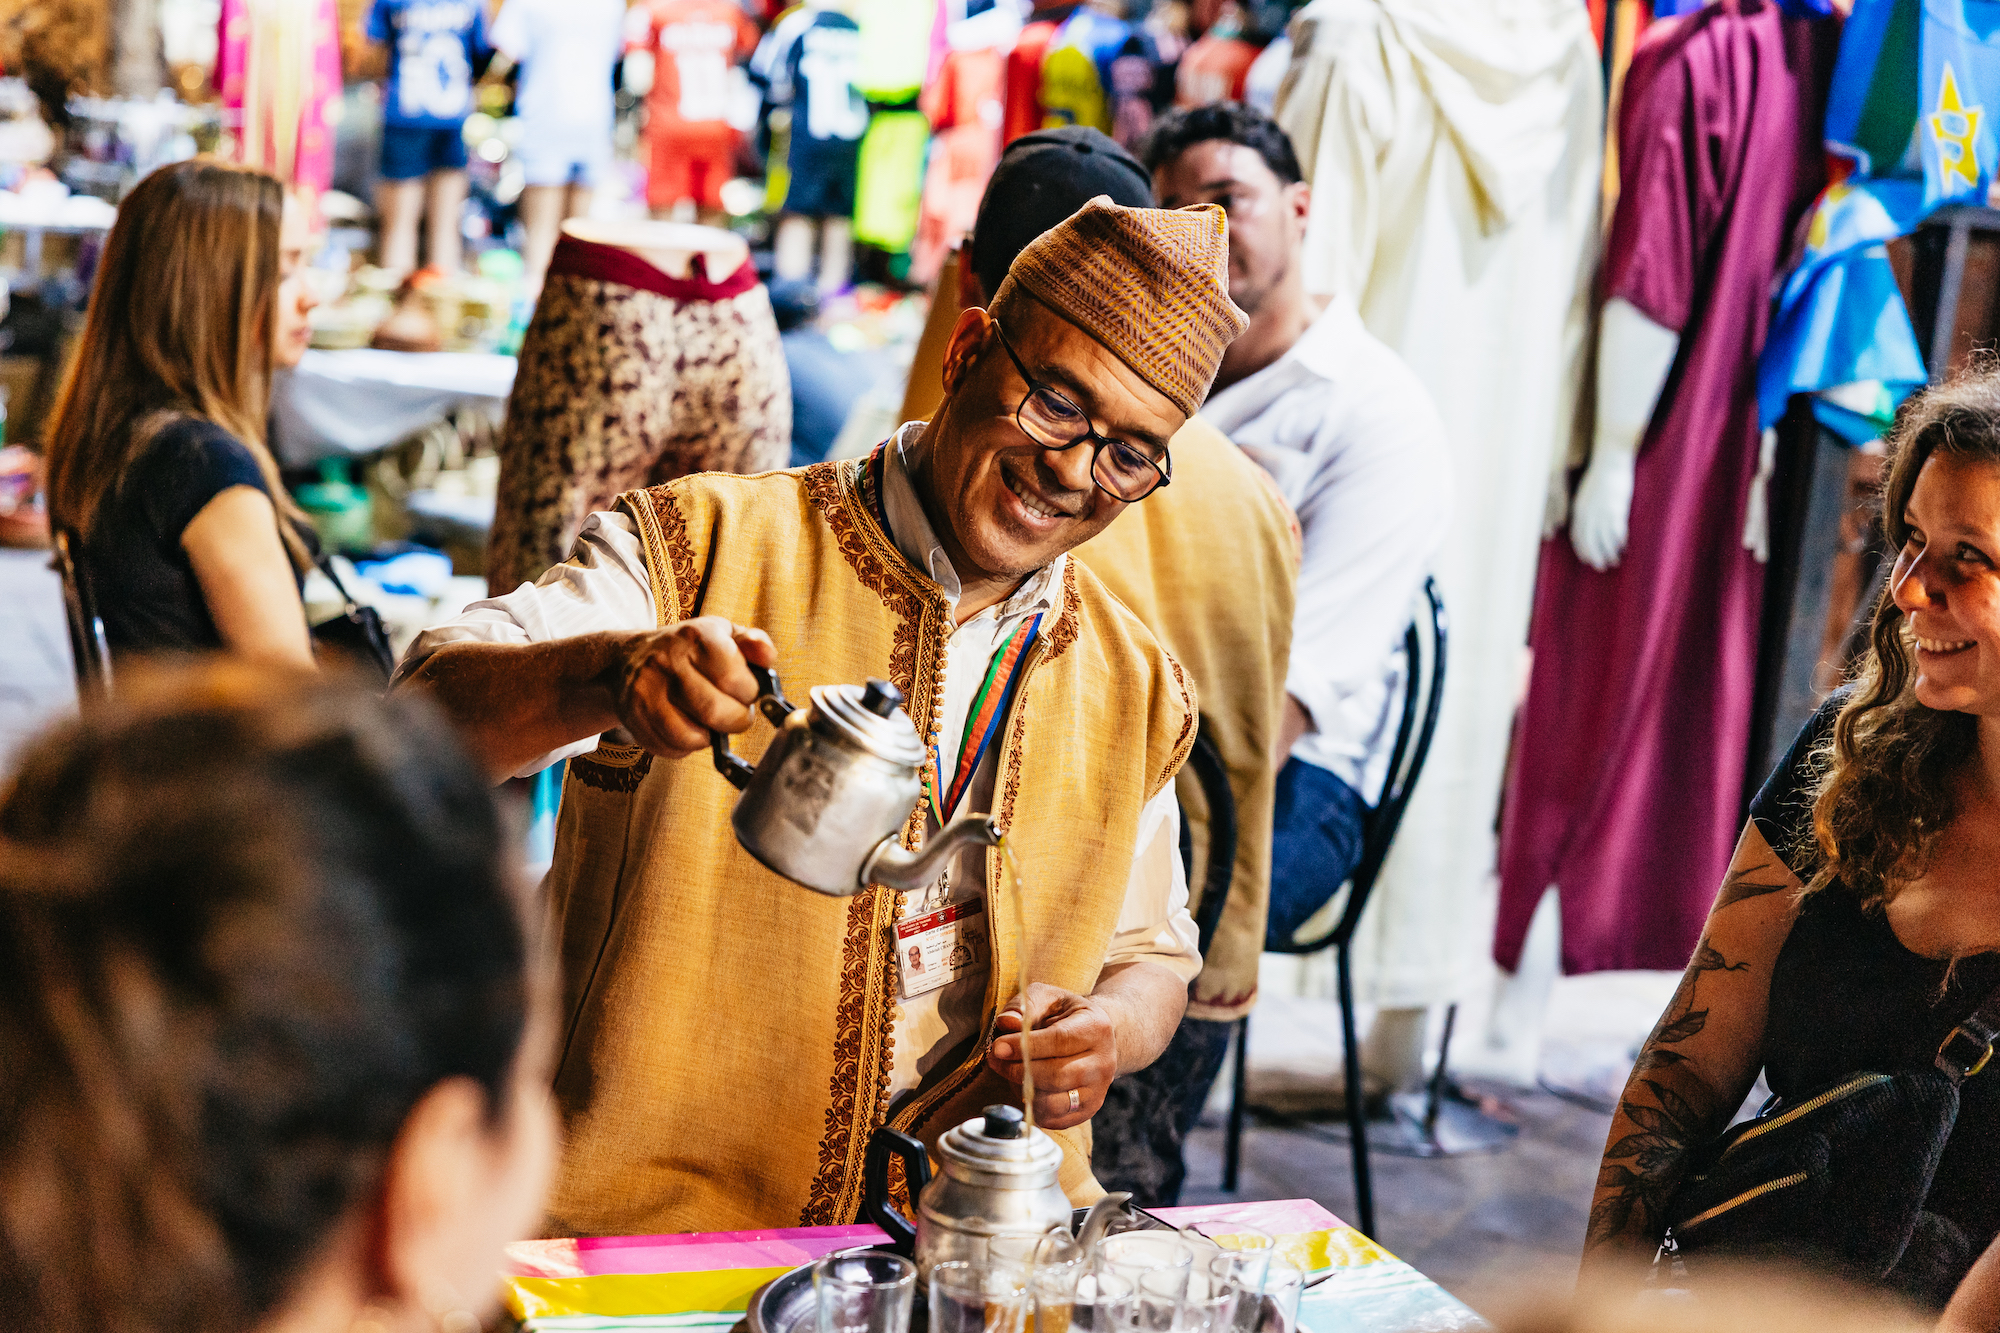
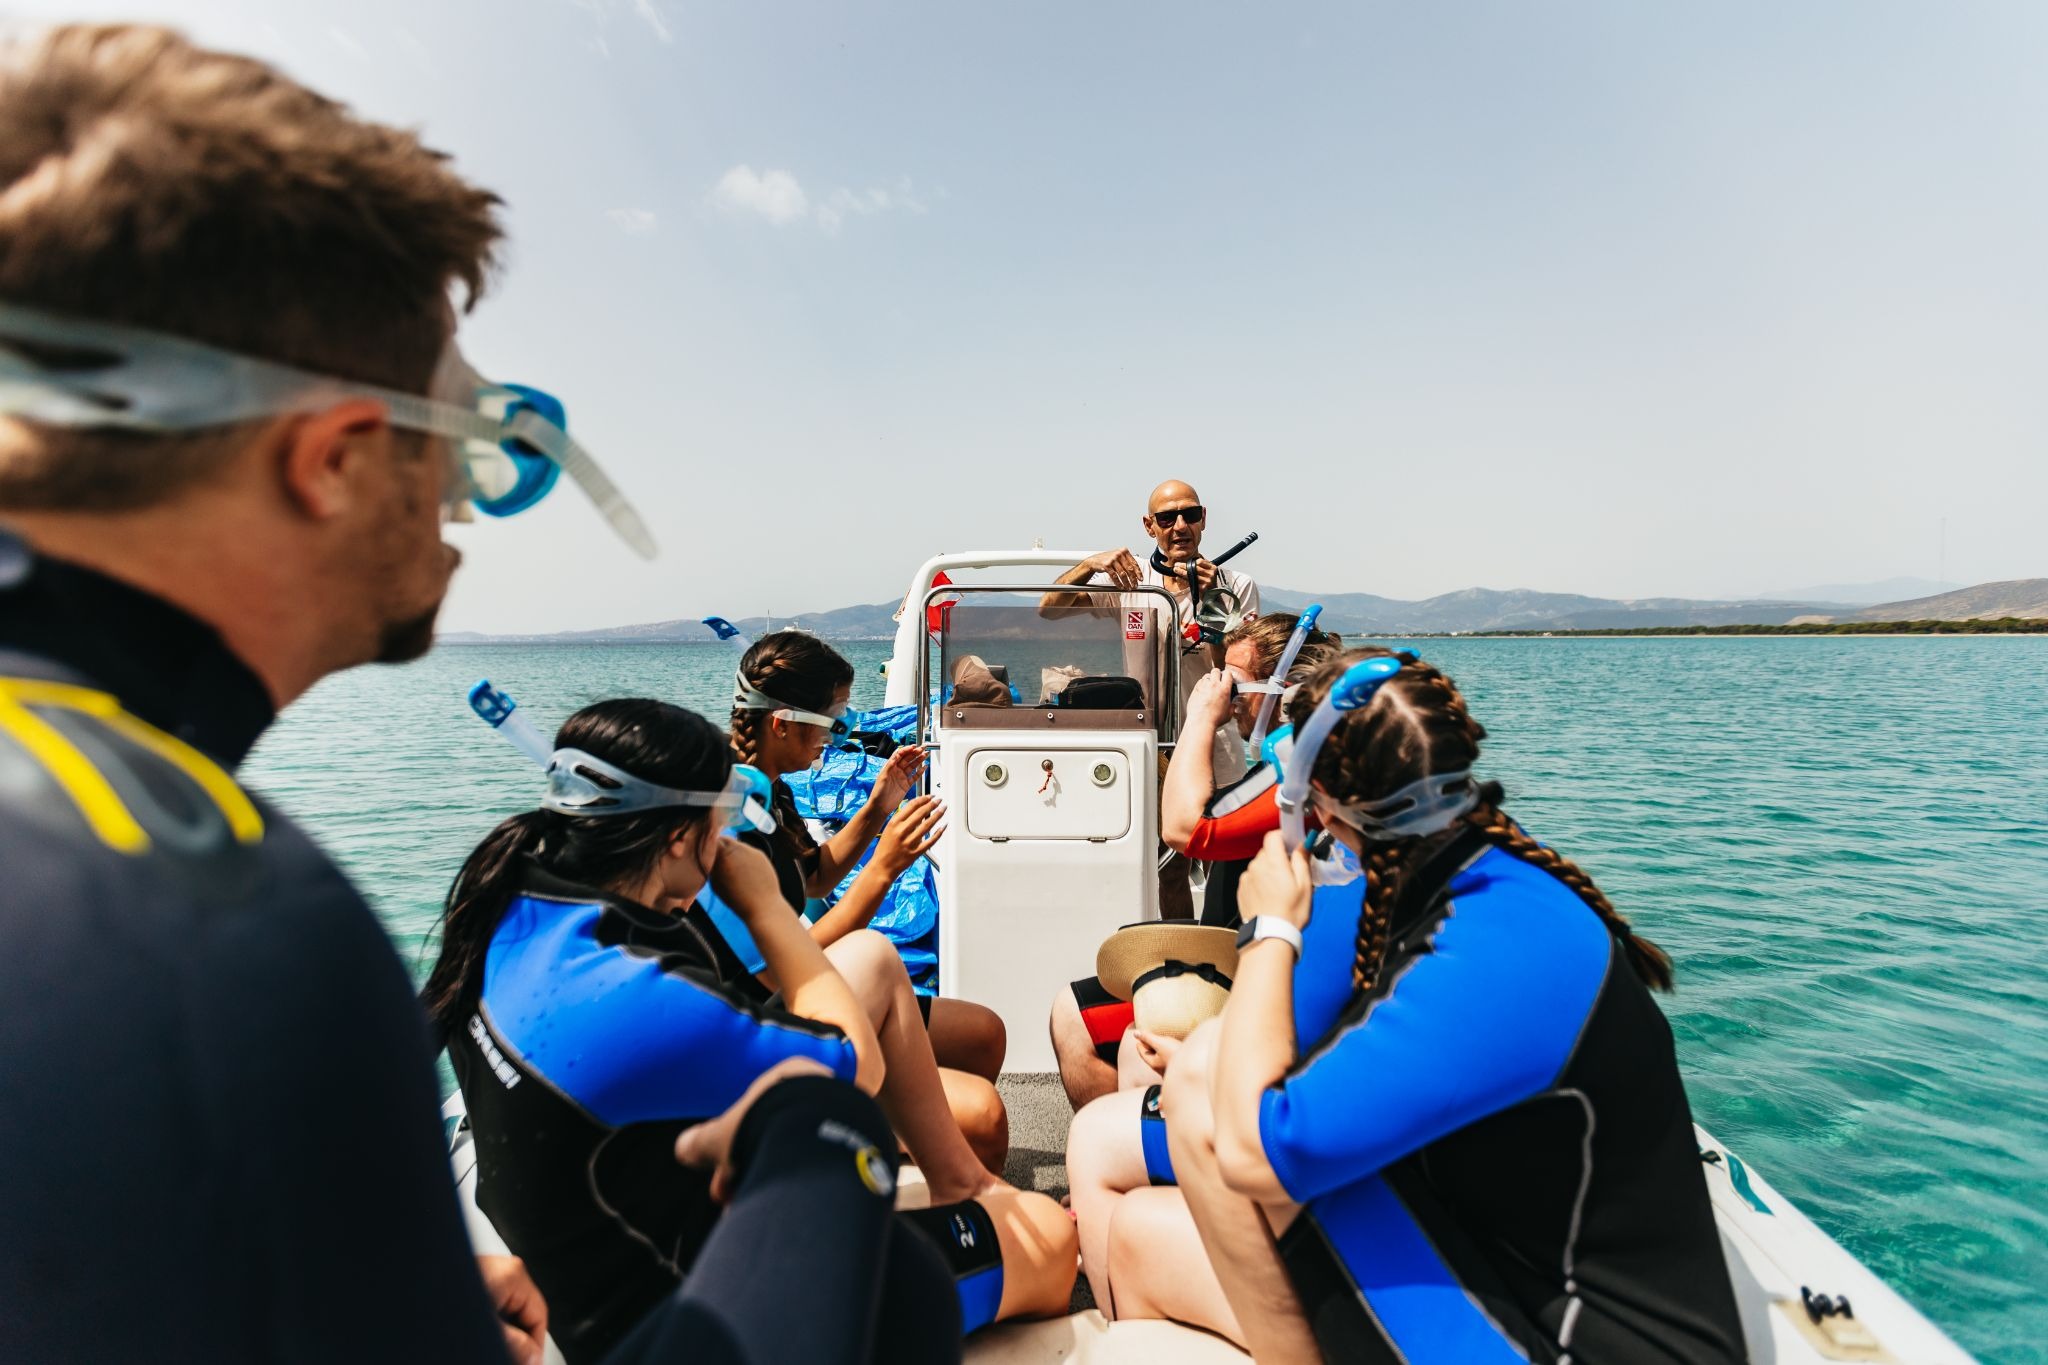
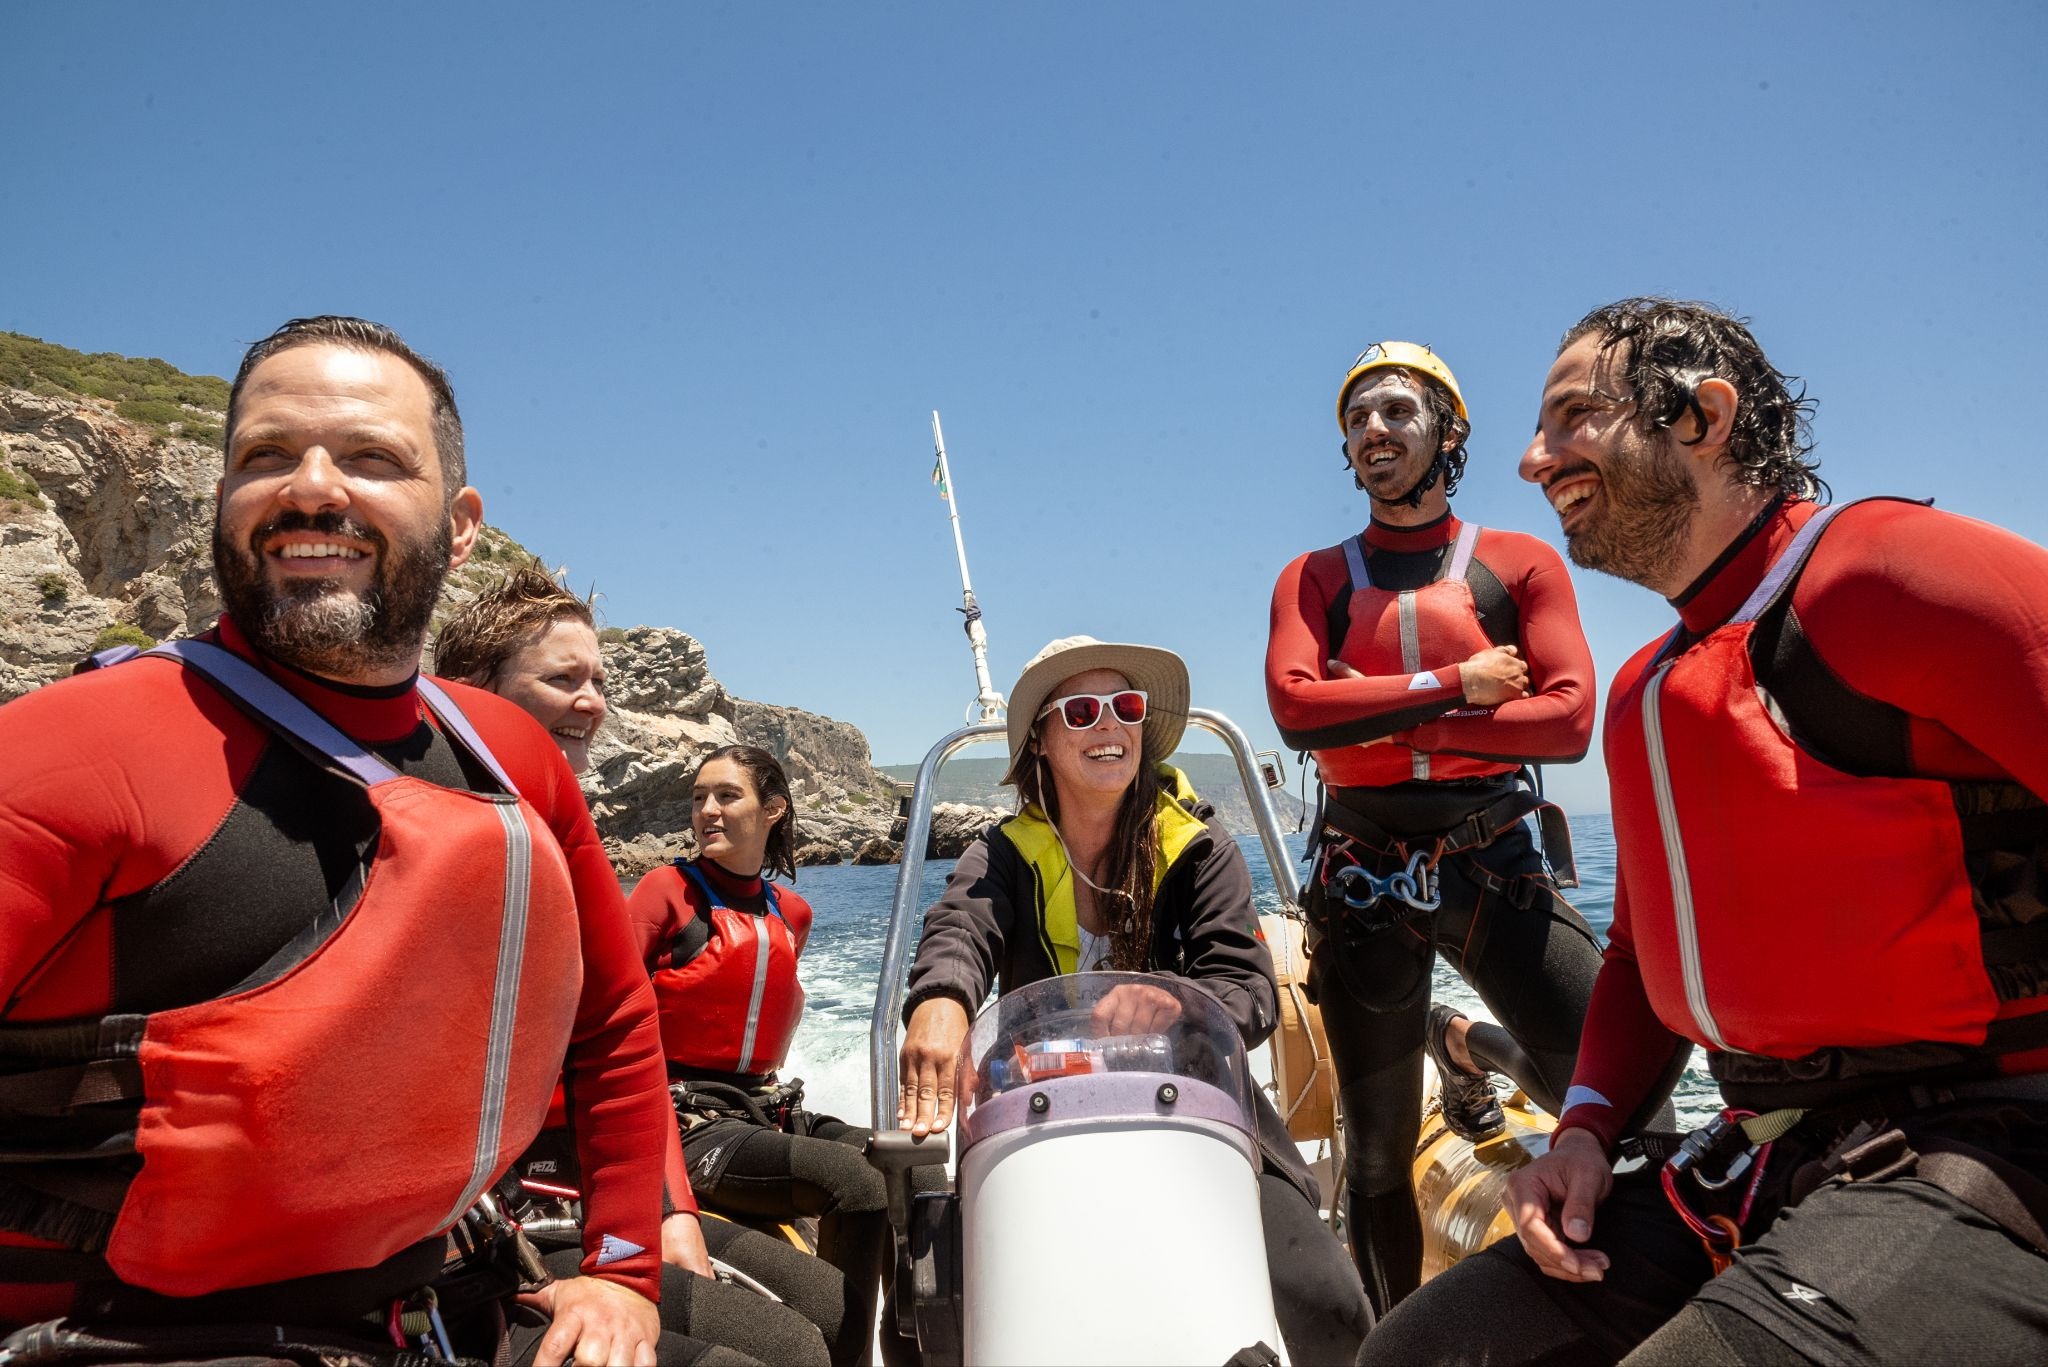
Your guide or skipper is one of your strongest selling points. Photograph them doing something: explaining a landmark to a small group, pointing out something in the water, helping a guest with equipment. Candid and engaged, not posed and stiff. A host who looks genuinely invested in the experience is far more compelling than one standing at the helm looking at the camera.
3. The amenities, in context
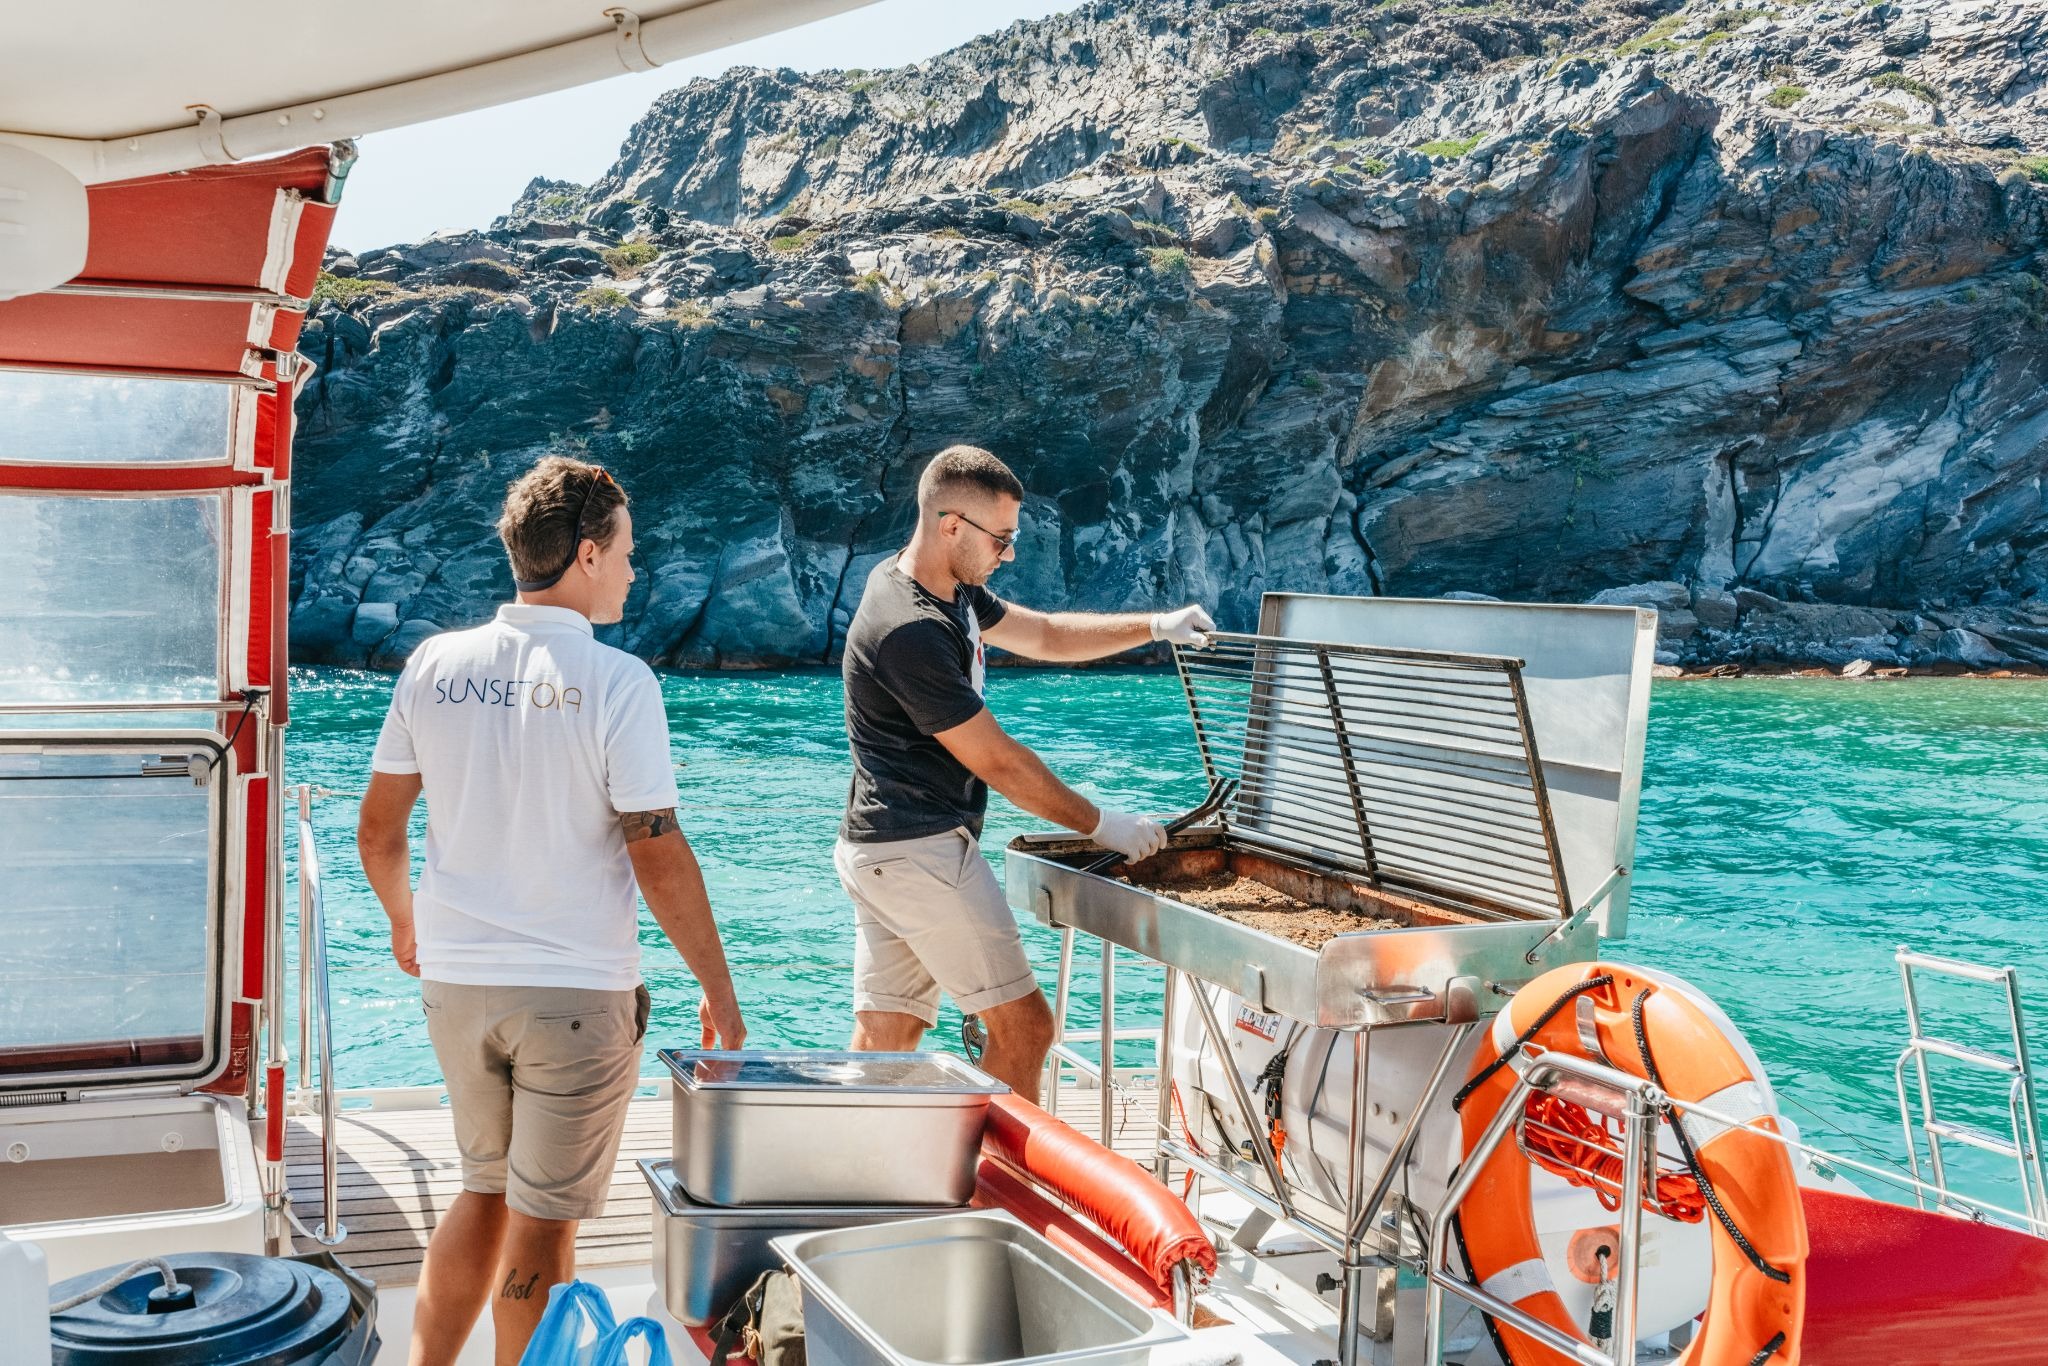
If your boat has a BBQ, an open bar, a sound system, or a shaded seating area, photograph it, but with the rest of the boat visible in the background. An isolated close-up of a drinks cooler tells a traveler nothing. The same cooler, with guests around it and the water behind, tells them everything about the kind of experience this is.
4. The boat from shore
Get off the boat and photograph it from land, ideally with recognizable scenery around it. A small wooden boat passing under a famous bridge. A catamaran in a bay with a coastal town behind it. This is the shot that gives travelers a sense of scale and setting and confirms that the boat in your listing is the actual vessel they'll be on.
5. A moment of discovery
A guest spotting a dolphin and pointing. Someone leaning over the side to look at something in the water. A couple watching a coastline they've never seen before. These are the images that make a traveler think: I want that.
The Great Barrier Reef snorkeling trip from Cairns is a strong example. The reef is the destination, but the photos that work hardest are the ones showing guests in the water.
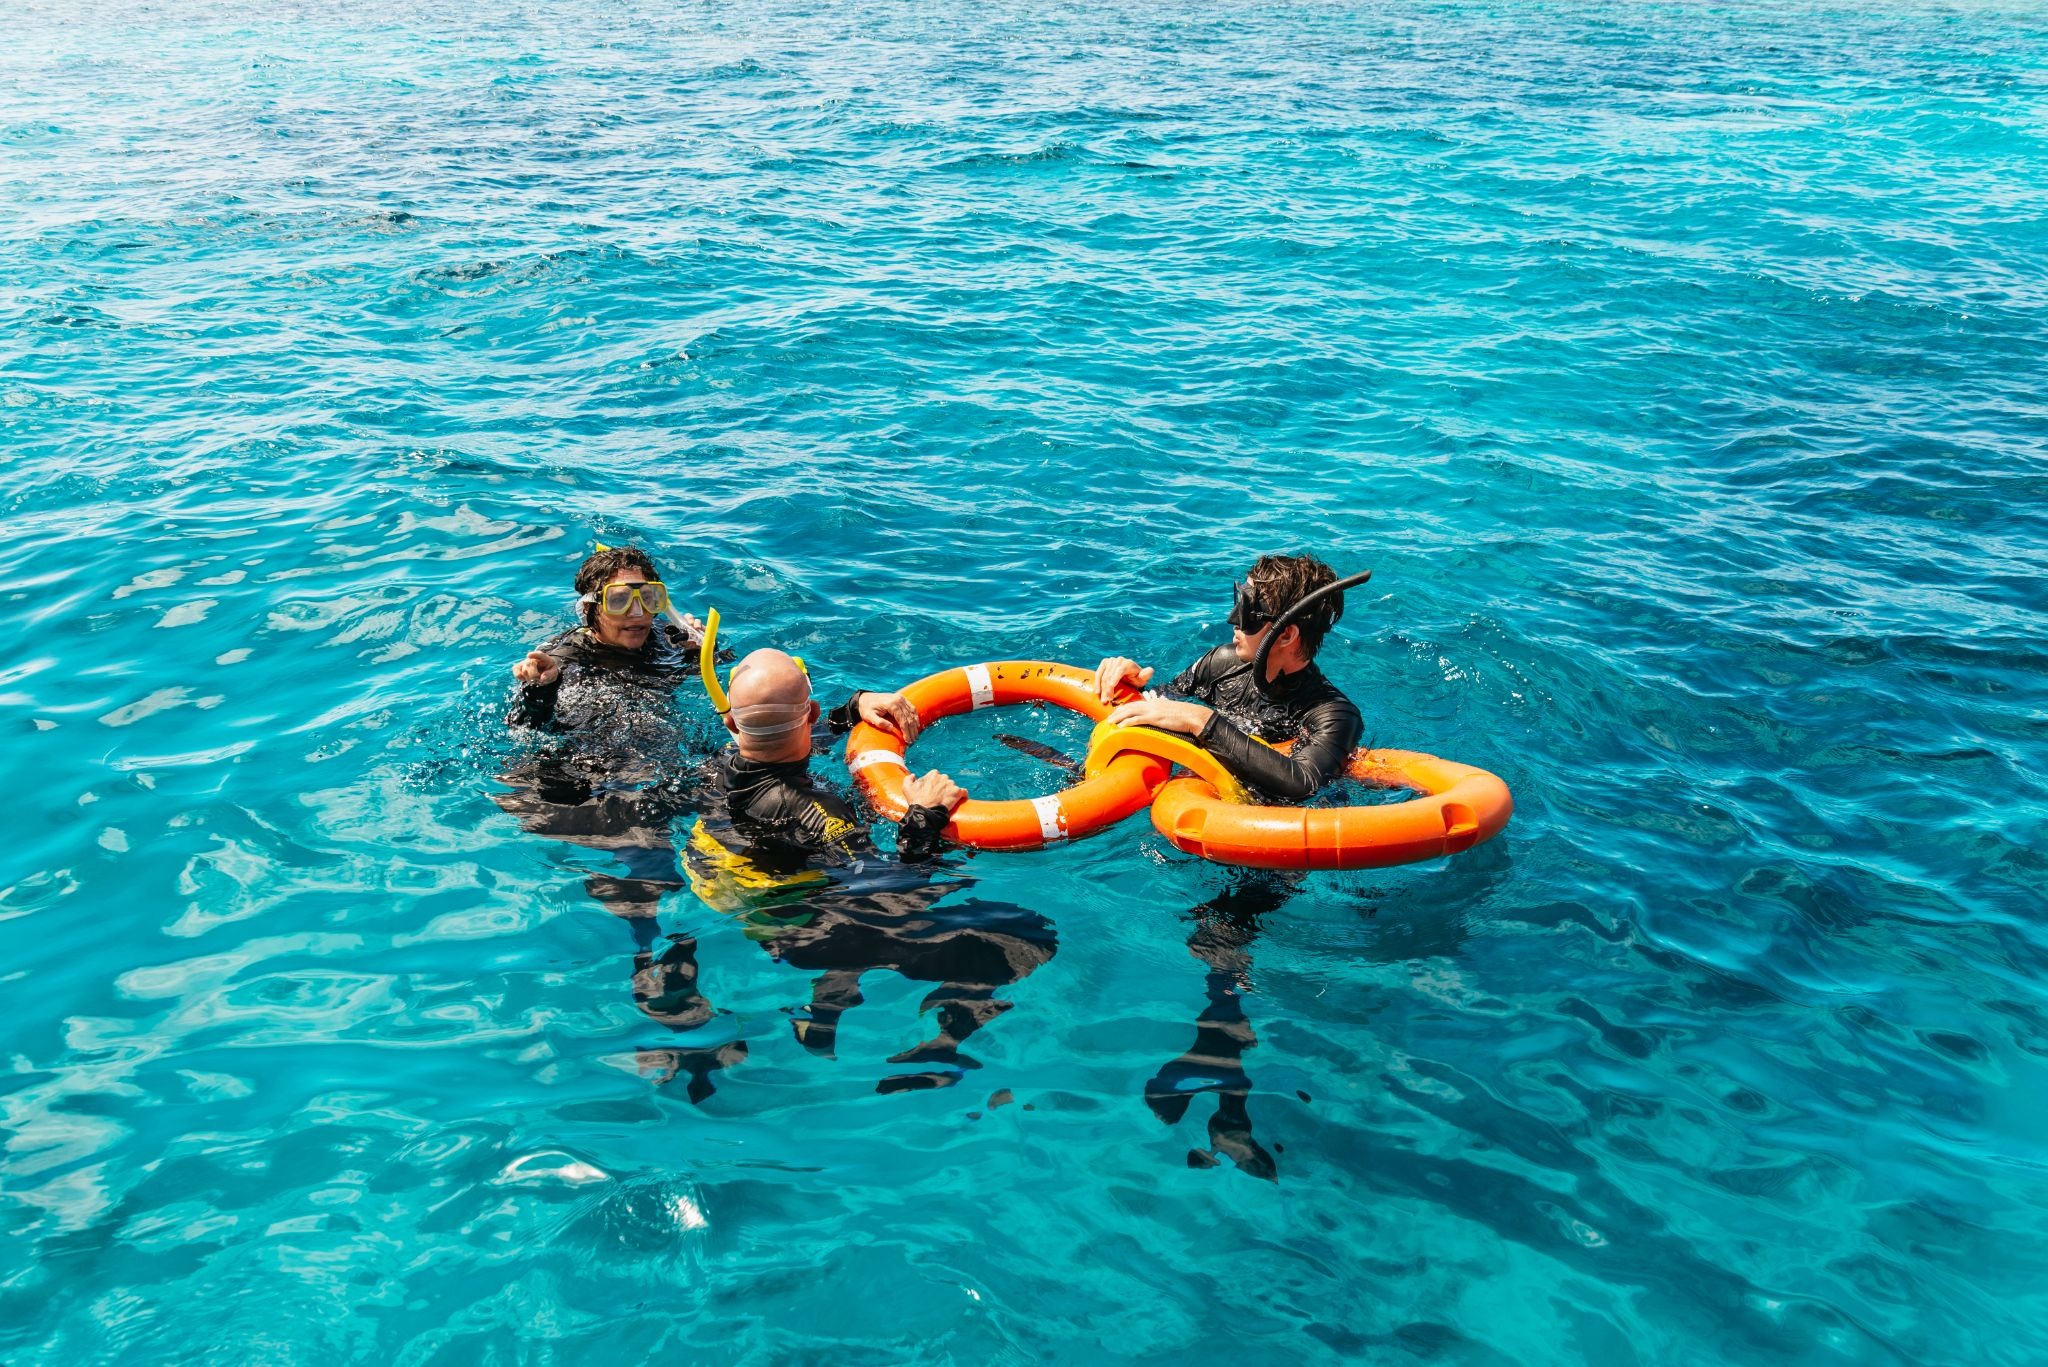
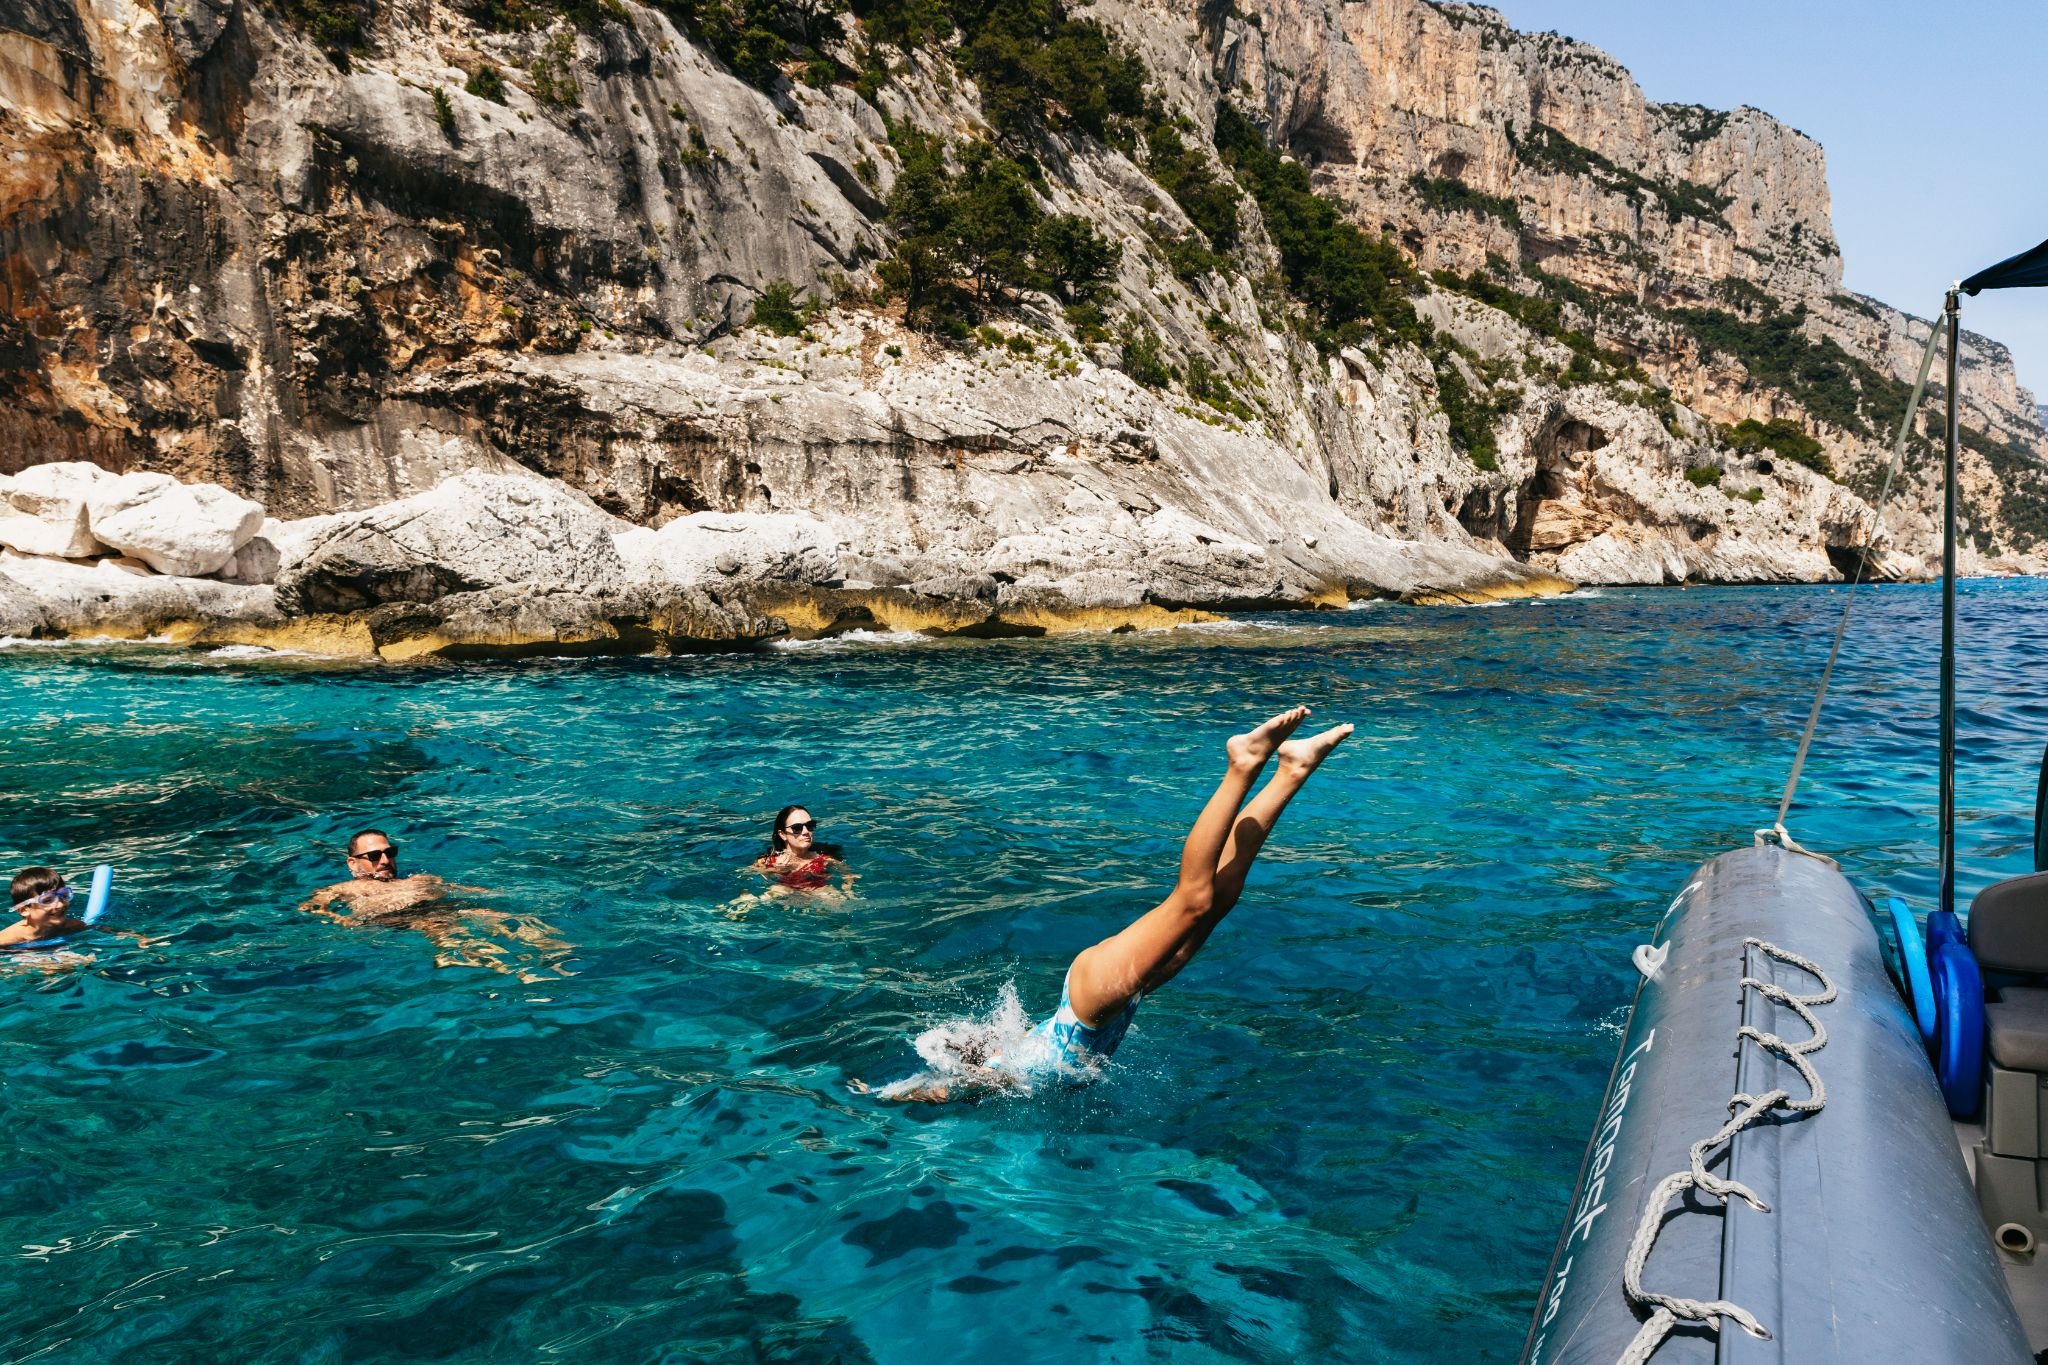
If guests jump off the back of the boat, that's worth capturing too. Use burst mode to catch the peak of the jump, and frame it from chest height or above so the focus stays on the energy and the water, not on swimwear.
The same principle applies to quieter moments: a guest sitting at the bow with their feet dangling, two people sharing a drink on deck, and a child pointing at something below the surface. Action and stillness both tell the story. Use both.
A note on consent
Before using any photo in your listing, make sure every clearly identifiable person in it has agreed to appear there. A quick message to guests after the tour, or a note in your booking confirmation, is all it takes. It's good practice, and in many countries it's a legal requirement.
6. The destination, wildlife or scenery, if relevant
If your tour goes somewhere travelers can't reach on their own, photograph it. A sea cave from the inside. A secluded cove only accessible by water. A snorkeling spot with visible marine life. A dolphin surfacing near the boat on a wildlife excursion.
These are your strongest visual arguments for booking. They show travelers not just that you have a boat, but also that you go somewhere worth going to.
The Gulf of Orosei dinghy trip from Cala Gonone is a strong example. The sea caves and turquoise water of the Gulf of Orosei are only accessible by small boat, and a photo shoot from inside a cave, looking out at the water and the light, tells that story immediately.
Shoot from on board or from the water's edge, and make sure the image is clearly recognizable as a place, not an abstract close-up.
One more thing: your first photo matters most.
Of all six shots, the one that appears first in your listing does the most work. Before you choose it, ask yourself: what's the single thing that makes a traveler pick my experience over the others in the same destination? That answer needs to be in your first photo. Everything else in your gallery supports it.
Recommended read: Your First Photo Can Make or Break Your Bookings
Show your host, not just your boat
Across millions of GetYourGuide reviews, the guide is consistently the biggest driver of a positive experience. That's as true for boat tours as it is for walking tours.
Your host, skipper, or guide should appear in your listing photos. And they should look like they're doing their job, not posing for a photo.
The difference matters. A skipper standing at the wheel, looking at the camera, arms crossed, tells a traveler nothing about what it's like to be on the tour. The same skipper crouching down to point out a sea creature to a guest, or laughing at something a guest said, tells them a lot.
Shoot your host from the side or slightly behind while they're interacting with guests. You want the guest's face visible and engaged, and the host clearly in the frame. That combination, the host doing something and the guest responding to it, is the most honest representation of what your experience actually feels like.
Shoot the water, not just the boat
The most common mistake in water experience photography is treating the boat as the subject.
- Shoot at eye level. The most effective angle for water experience photography is eye level: the same height a guest would see from the deck. This is what travelers will actually experience, and it's the angle that reads most naturally in a listing. Avoid shooting from very low (water surface) or very high (looking straight down), both of which distort the scene and make it harder to read.
- Capture the color. Water color changes with light and time of day. The clearest blues and greens appear in the two hours after sunrise and the two hours before sunset, when the sun is at a low angle and the light is warm. Midday light, especially in summer, bleaches the color out and creates harsh reflections. If your water is genuinely beautiful, shoot it in the right light.
- Show the clarity. If your snorkeling or swimming spot has clear water, photograph it from the side of the boat at eye level, so the color and depth are visible. That image tells a traveler more about the quality of the experience than any description.
- Include the horizon. A wide shot that shows the boat, the water, and the horizon gives a sense of scale and openness that makes the experience feel expansive. It's the visual equivalent of "you're out there, away from everything."
Timing: when to shoot and when not to
Light is everything in water photography. The same location can look extraordinary or unremarkable depending on when you shoot.
- Golden hour (the hour after sunrise or before sunset) is your best window. The light is warm, directional, and low. It skims across the water surface and creates texture and color that midday light destroys. If your tour runs at sunrise or sunset, you have a natural advantage. Use it.
- Blue hour (the 20–30 minutes after sunset) works well for calm-water experiences, a sunset cruise, and an evening sail. The sky turns deep blue, the water reflects it, and any lights on the boat or shore create a warm contrast. It's a harder shot to get right, but when it works, it's striking.
- Midday is the hardest. If your tour runs at 11am, you're working against the light. The sun is directly overhead, shadows are harsh, and the water often looks flat and grey rather than blue or green. In this case, look for shade, shoot toward the sun (not with it behind you), and focus on people and moments rather than the water itself. A candid shot of guests laughing in the shade of a sail can work better than a blown-out wide shot of the sea.
- Overcast days are underrated. Clouds act as a giant diffuser. The light is even, soft, and flattering. Colors are accurate rather than washed out. If you're planning a dedicated photo session, an overcast day often produces more consistent results than a bright sunny one.
One editing note: keep colors natural. Water photography is especially prone to over-saturation, particularly in the blues and greens. Bring the color up slightly in editing, but keep it within what the eye would actually see. Over-saturated water looks artificial, and travelers notice.
What to avoid
A few things that consistently undermine water experience listings:
- An empty boat. If there are no people in the photo, there's no experience to sell. Every shot in your gallery should have at least one person in it or be clearly showing something travelers will see from the boat.
- Unattractive furnishings or close-ups of unrecognizable objects. A tight shot of a rope, a cleat, or a piece of equipment with no context tells a traveler nothing. If you want to show a detail of the boat, make sure the surrounding context is visible in the frame.
- Posed expressions and clichéd posing. People staring at the camera with forced smiles or doing the arms-wide-open pose on the bow. These look staged and unconvincing. Shoot while people are doing something, not while they're performing for the camera.
- People on their phones, or with their backs to the camera. Both are common on boats, and both make for weak listing photos. If you're planning a photo session, brief your guests beforehand: phones away, face the water or the host, and just enjoy the experience while you shoot.
- Swimwear issues. If your tour involves swimming, be mindful of how swimwear appears in listing photos. A candid mid-swim shot that focuses on faces and the water tends to work better than full-body swimwear shots and feels more like a travel photo than a beach photo.
- Stock-looking or over-edited images. Travelers can spot a generic photo. Use real images from your actual tours, on your actual boat, in your actual location. And keep the editing light: natural colors, no dramatic filters, no added sun flares.
Your water experience photo checklist
Before you update your listing, run through these:
✅ Does your first photo show the experience, not just the boat?
✅ Do you have a shot from inside the boat looking out at a recognizable location?
✅ Do you have a wide shot that shows the boat in its wider context?
✅ Is your host/skipper visible and clearly engaged with guests, not posed?
✅ Do you have a photo of your amenities (bar, BBQ, seating) with the boat visible in the background?
✅ Is the water color visible and accurate to what guests will see?
✅ Do you have a wide shot of the boat from shore, ideally with recognizable scenery around it?
✅ If your tour involves wildlife or a specific natural landmark, do you have a photo of it?
✅ Are colors natural and accurate, not over-saturated?
Ready to update your listing photos? Log in to the Supplier Portal